Concrete Driveway Repair
Project Overview
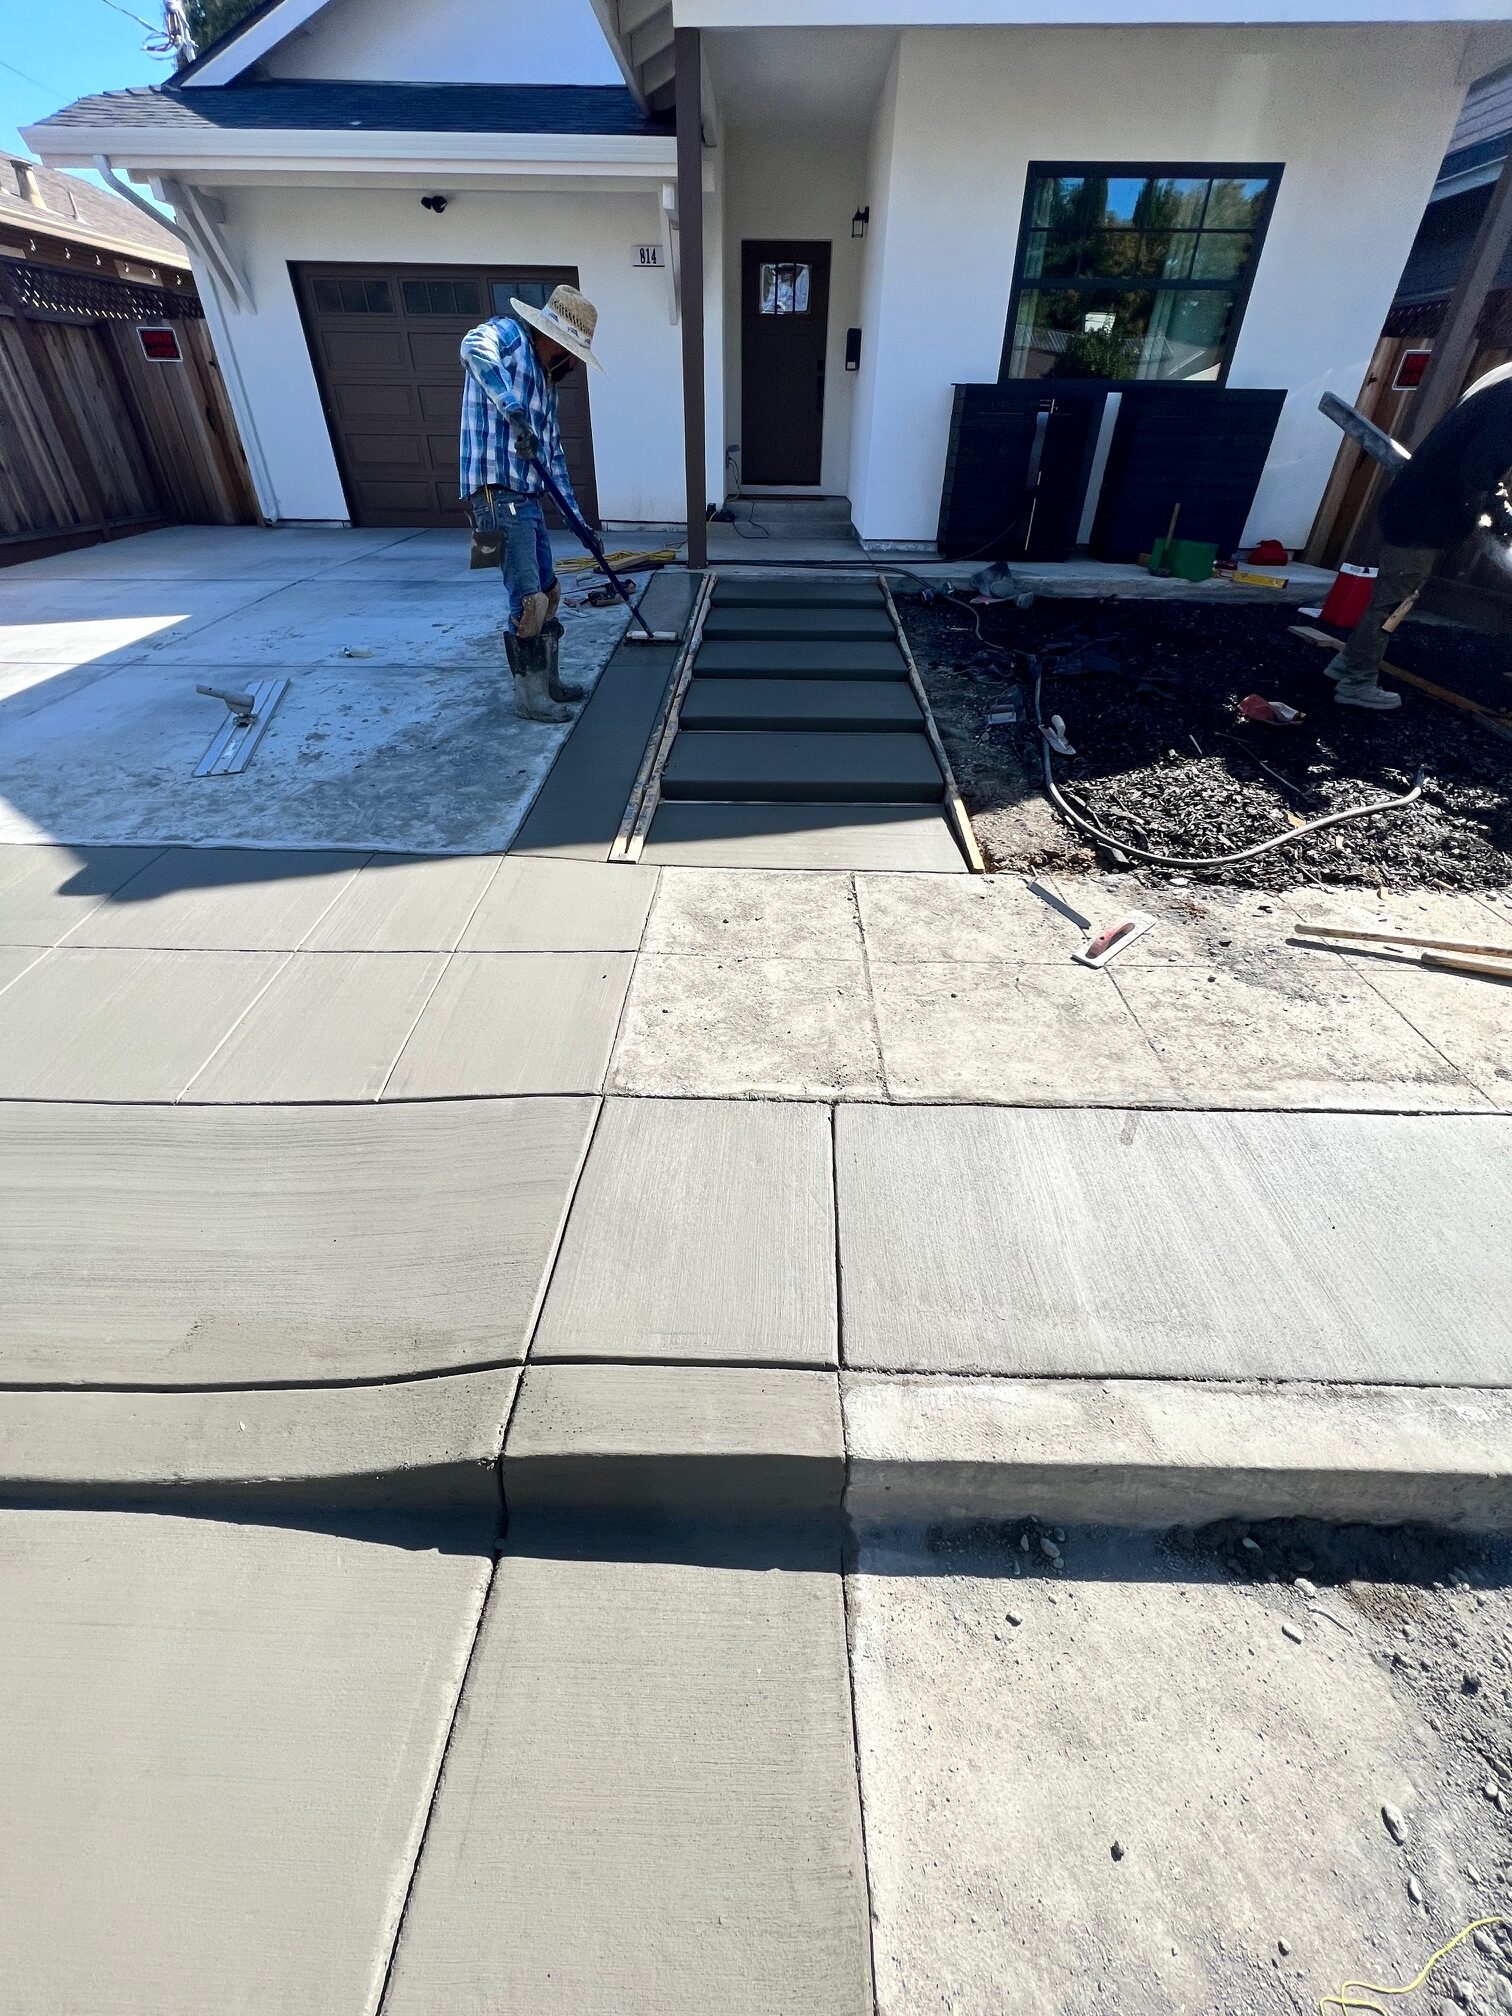
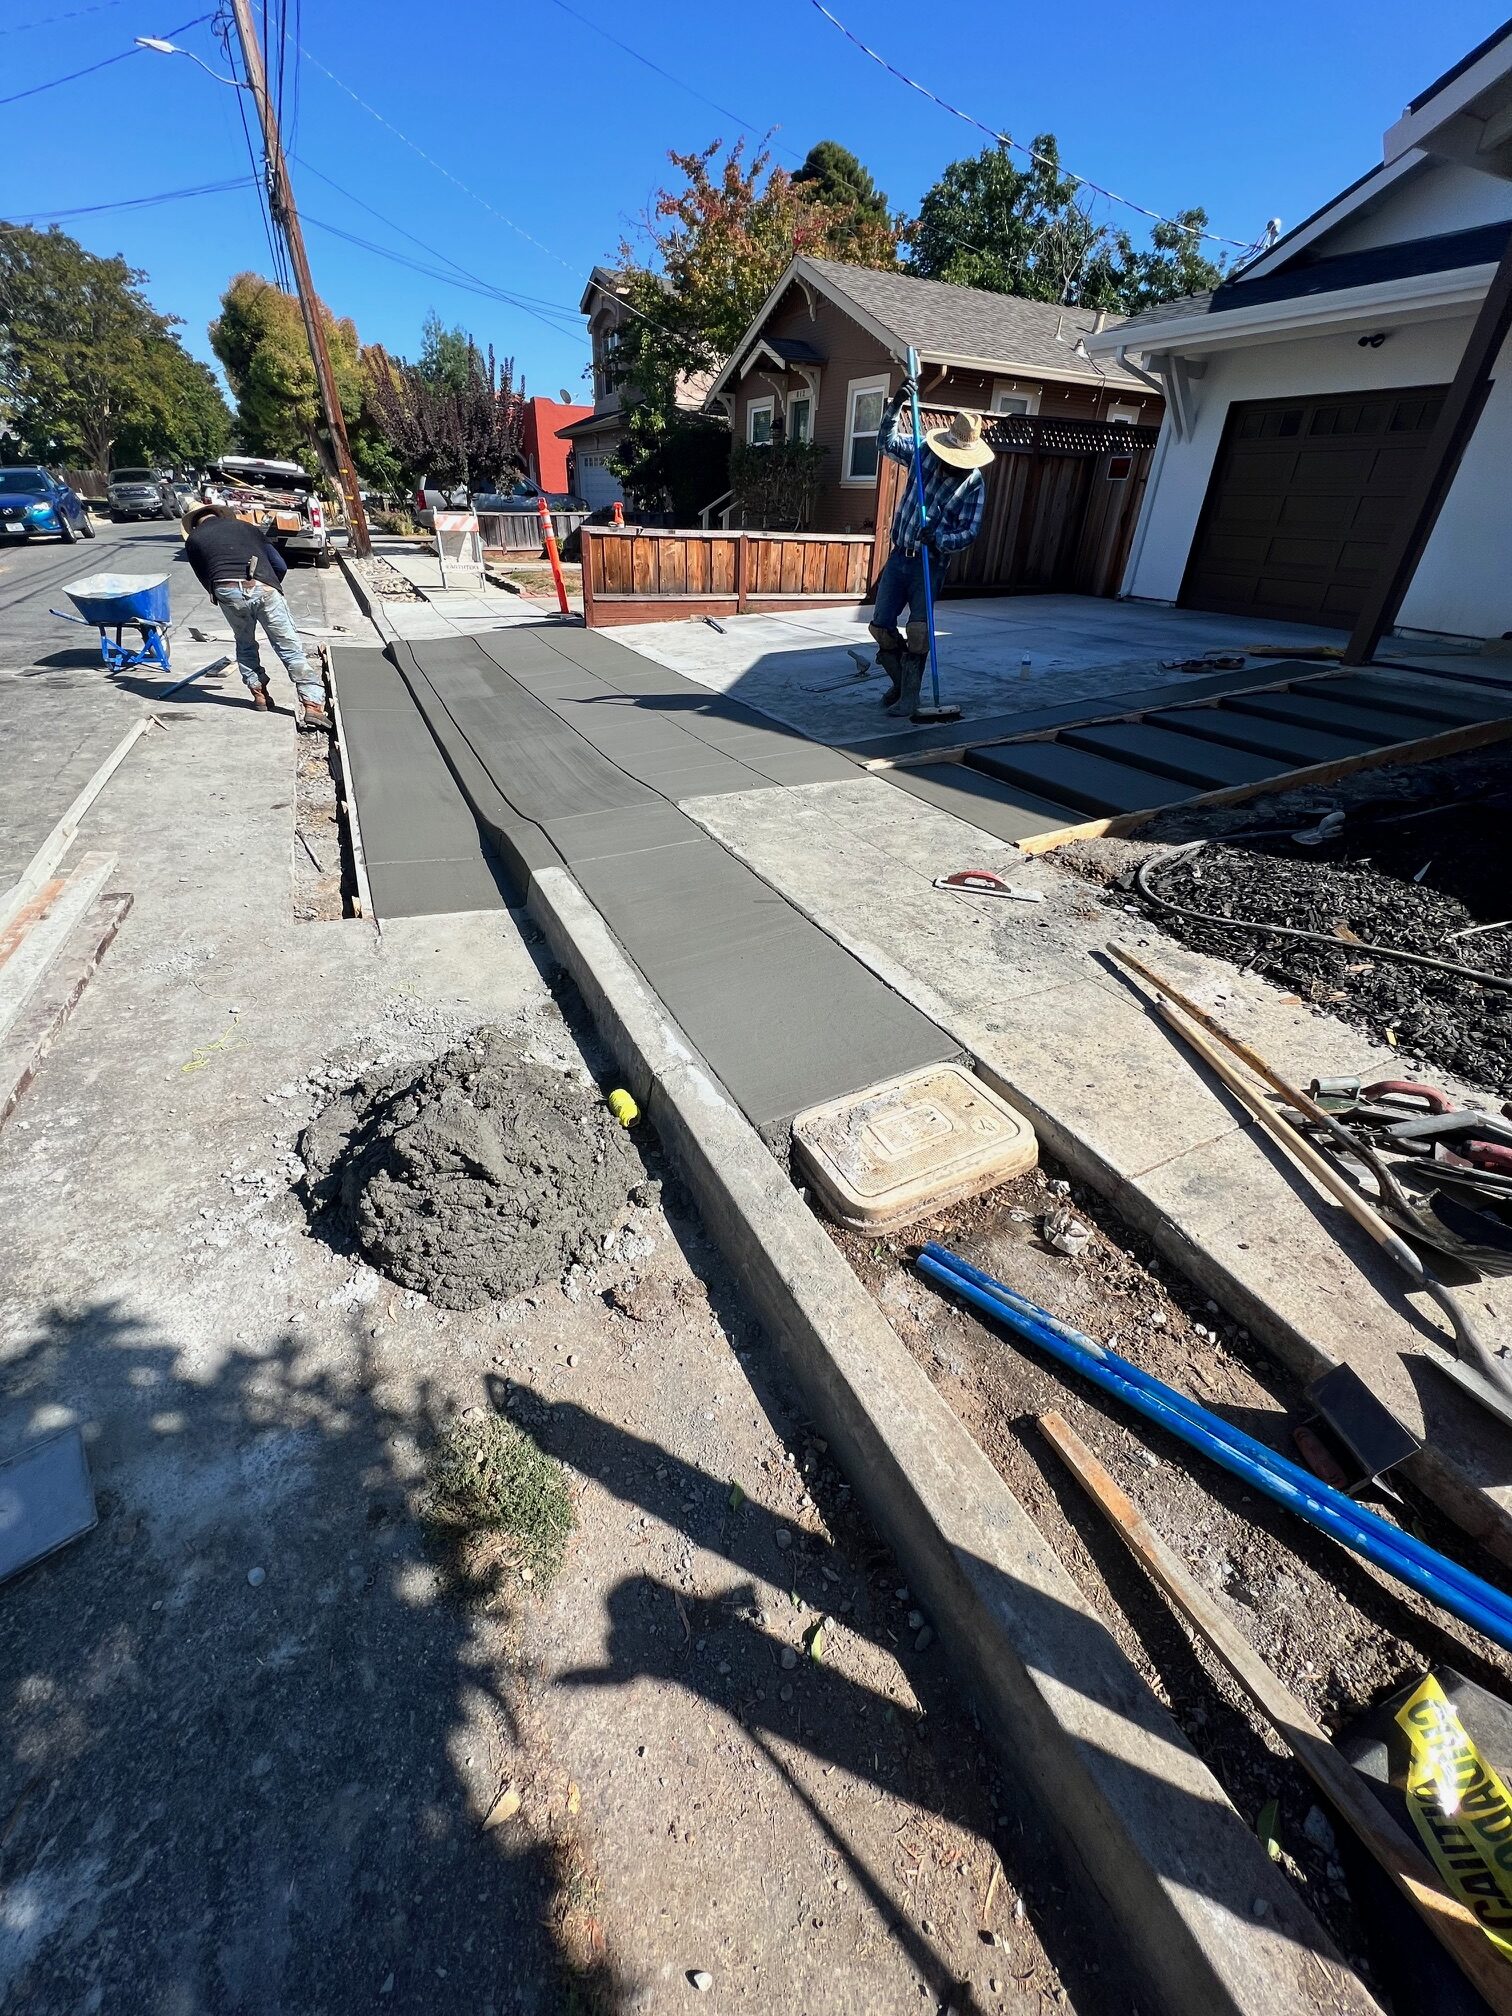
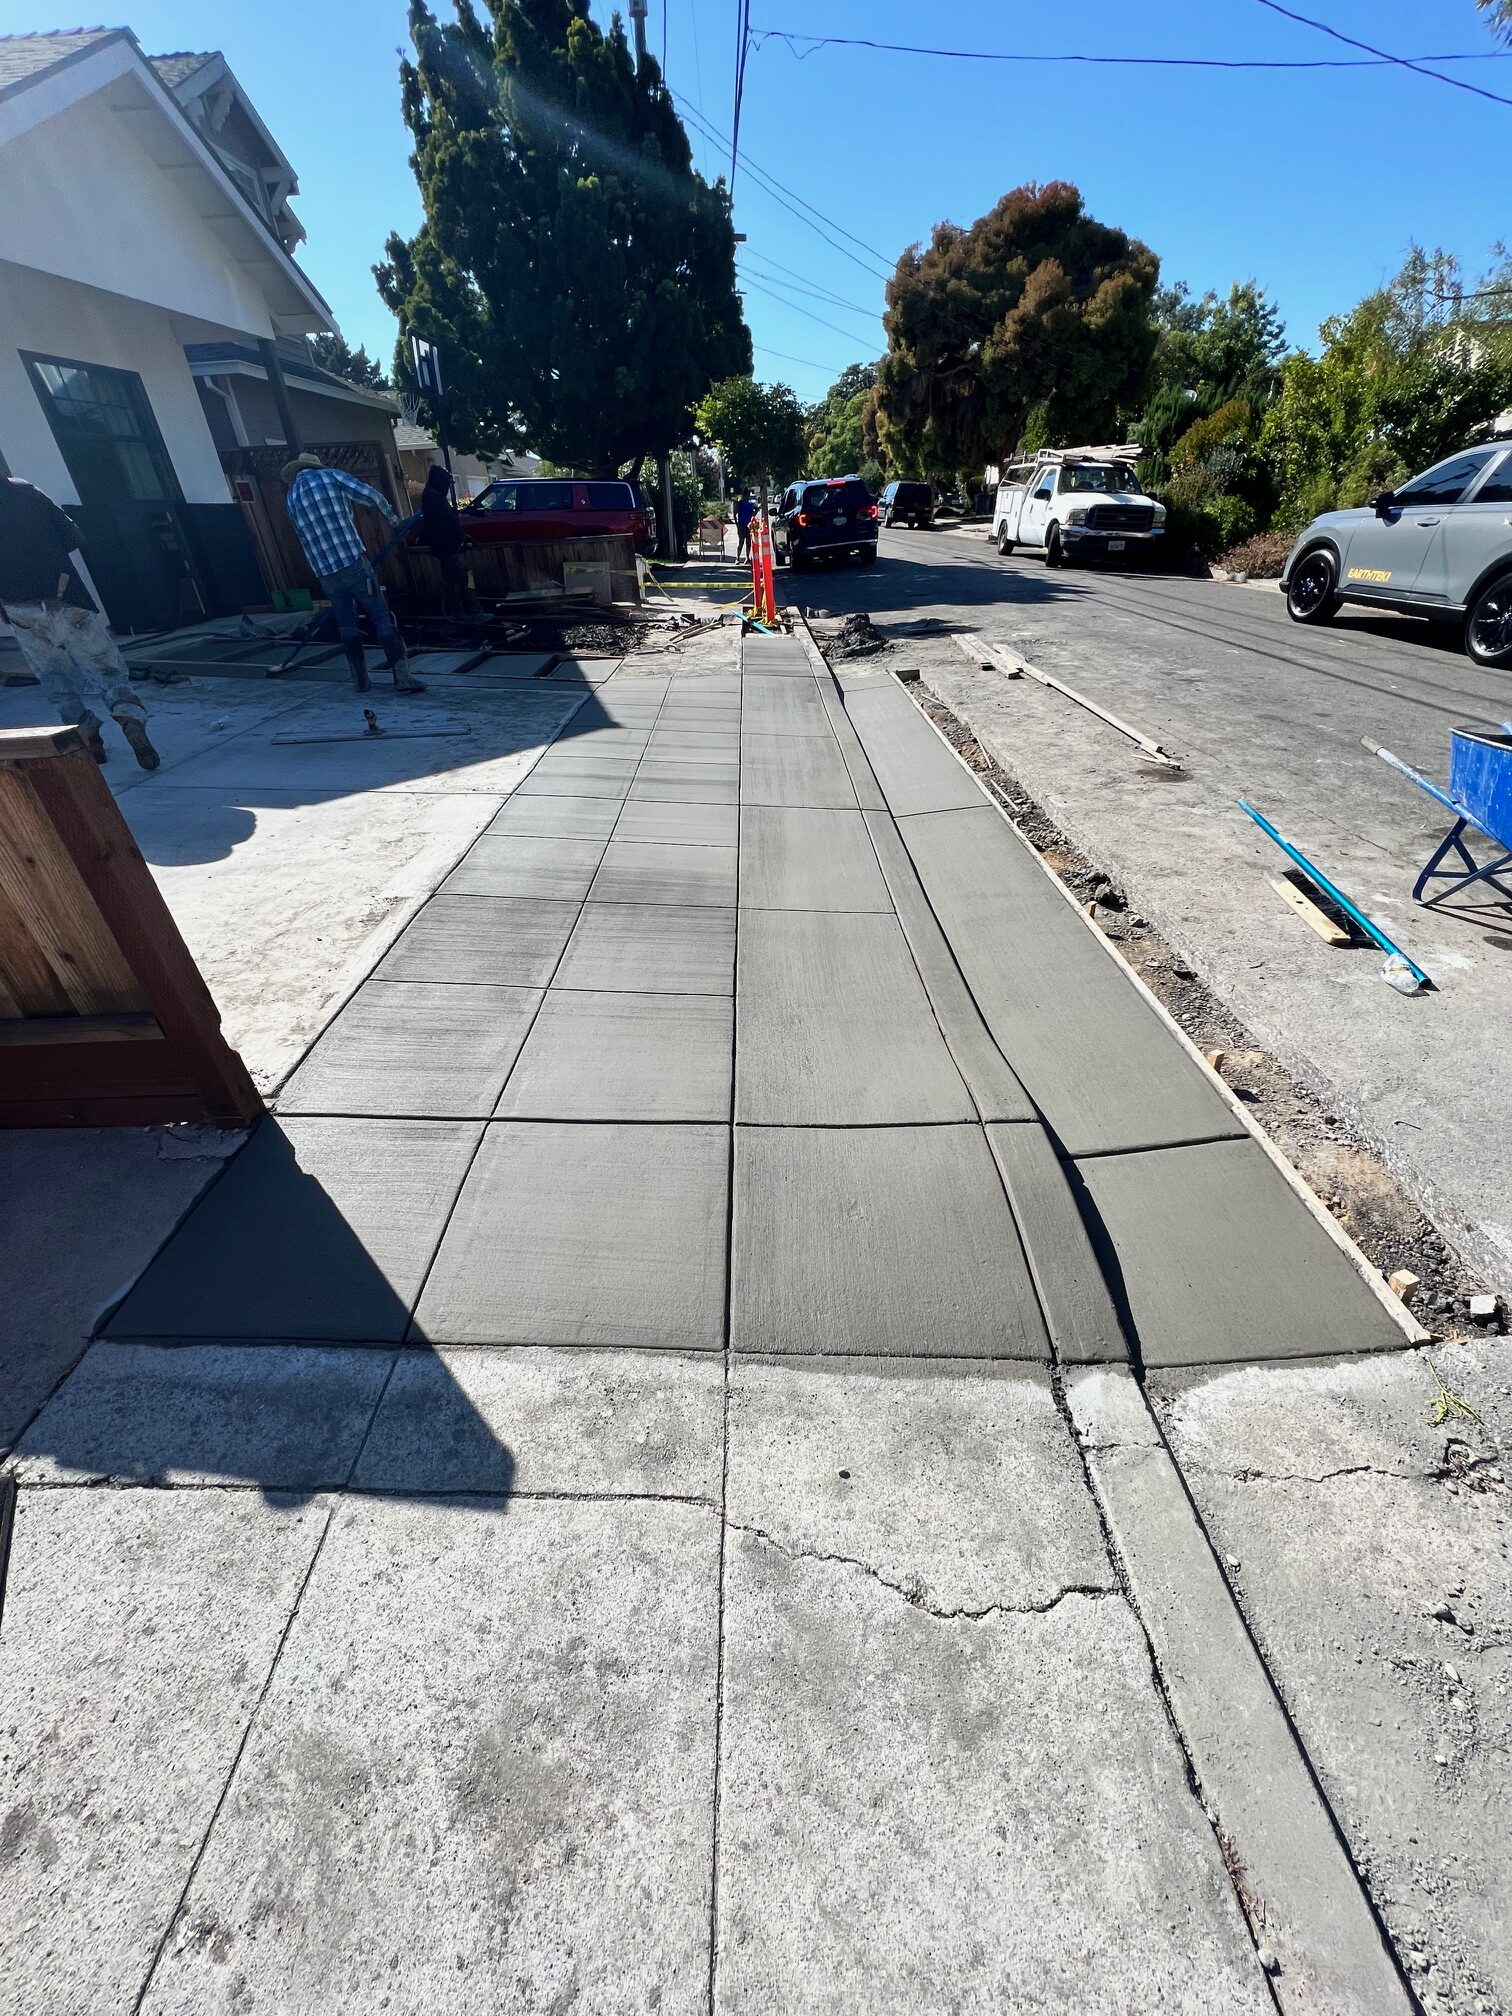
EARTHTEK Paving and Grinding Inc completed this concrete driveway repair project in San Jose, CA, restoring a damaged driveway to a smooth, structurally sound surface. Our crew removed the failed concrete sections, prepared and compacted the base, and poured new reinforced concrete finished to blend with the existing driveway — restoring both function and curb appeal.
Concrete driveways are built to last decades, but when sections crack, settle, or heave, targeted repair is often the smart move: replace what's failed, protect what's sound, and avoid the cost of tearing out the entire driveway. Done right, a concrete repair addresses the root cause — usually base movement or drainage — so the same failure doesn't come back.
Scope of Work
- Removal of cracked and failed concrete sections
- Base preparation and compaction
- Forming, reinforcement, and new concrete placement
- Finishing, jointing, and curing
Why This Project Was Needed
Concrete driveway damage rarely fixes itself — and in San Jose's clay-heavy soils, these are the common culprits:
- Cracked slabs — from soil movement, tree roots, or loads beyond the slab's design; open cracks let water reach the base and expand the damage
- Settling and sunken sections — poorly compacted or eroded base causes slabs to sink, creating trip hazards and drainage problems
- Heaving and uneven joints — offset slab edges are a liability for anyone walking to the front door
- Spalling and surface scaling — the finished surface flakes away, exposing aggregate and accelerating deterioration
- Drainage issues — settled slabs can redirect water toward the garage or foundation
- Curb appeal — a cracked, patched driveway drags down the appearance and value of the entire property
Our Concrete Driveway Repair Process
- Assessment — Inspect the full driveway to identify which slabs have failed, diagnose the underlying cause (base erosion, roots, drainage), and confirm which sections are sound enough to keep.
- Sawcut & demolition — Saw-cut clean lines around failed sections and remove the old concrete, hauling debris away for recycling.
- Base repair & compaction — Excavate soft or eroded material, address root or drainage issues, then place and compact fresh aggregate base so the new slab won't settle.
- Forming — Set forms to match existing grades and elevations for flush, seamless transitions to the remaining driveway.
- Reinforcement — Install rebar or wire mesh, doweled into adjacent slabs where needed to tie new and existing concrete together.
- Concrete placement — Pour commercial-grade concrete mix, screed to grade, and consolidate for full strength.
- Finishing — Float and finish the surface to match the existing driveway's texture (broom finish for traction), with clean tooled edges.
- Control joints — Cut or tool joints at proper spacing so future cracking happens where it's planned, not at random.
- Curing — Apply curing compound and keep vehicles off for 7 days (foot traffic after 24–48 hours) while the concrete gains strength.
Equipment Used on This Project
- Concrete saw for clean demolition cuts
- Skid steer / mini excavator for removal and base work
- Plate compactor for base compaction
- Forms, stakes, and grading tools
- Screeds, bull floats, and finishing trowels
- Edgers, groovers, and jointing tools
- Broom finish and curing application equipment
The Result
A restored, structurally sound concrete driveway with the failed sections replaced, the base problem corrected, and new slabs finished to blend cleanly with the existing surface — safe, level, and built to serve the home for decades.
Need Concrete Driveway Repair in San Jose or the Bay Area?
Whether your driveway needs a few slabs replaced or a full rebuild, EARTHTEK Paving and Grinding Inc delivers concrete driveway repair and installation built on proper base preparation and quality finishing. Contact us today for a free repair estimate.
Gallery
Get a Free Estimate
Fill out the form below and we'll get back to you within 1 business day.